• Identify early signs of a roof leak such as discolored patches or musty odors
• Step-by-step guide to locate the leak source, inspect elements, and perform repairs
• Emphasize the importance of regular roof maintenance and professional inspections
Recognizing the Red Flags of a Leaking Roof
A roof leak is an unwelcome visitor that can wreak havoc on your home if not addressed promptly. Spotting the early signs is crucial, as water intrusion can quickly escalate from a minor issue to extensive damage. Look out for discolored patches on ceilings or walls; these can indicate moisture is compromising your home’s integrity. Furthermore, a musty odor in your attic or upper floors often signals trapped moisture and the potential for mold growth.
Visual Cues of Roof Penetration Problems
Your home’s attic offers the first clues of a potential roof leak, acting as a window to your roof’s health. Soaked insulation, dripping water, or sunlight peeking through the roof boards are clear indicators of a breach. Be vigilant for any dark trails or spots on the wood, especially after a bout of Agawam summer rain, as these could suggest water has found its way through your defenses. Regularly peering into your attic space can help you catch problems early, before they evolve into costly repairs.
Exterior Checks Can Save Your Home
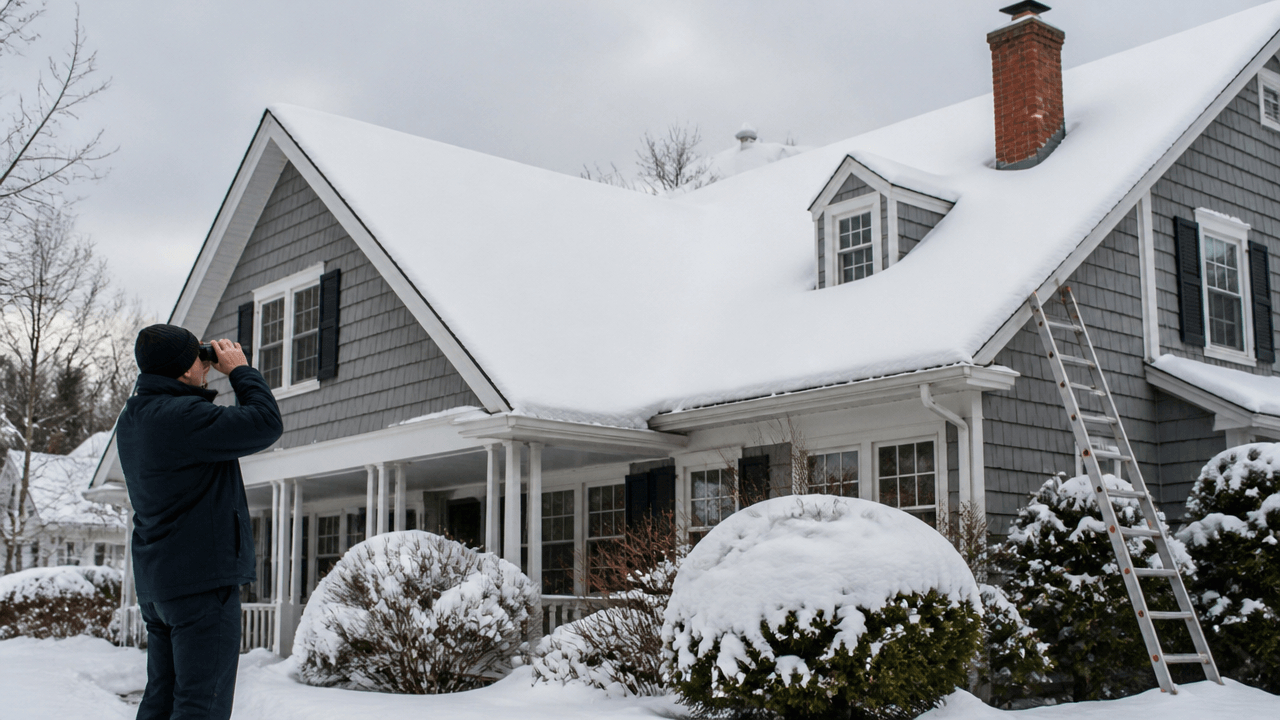
Equally important is the exterior survey of your roof, which can reveal tangible evidence of wear or damage. Missing, cracked, or curled shingles are tell-tale signs that your roof may be compromised. Look closely for shingle granules accumulating in gutters; these are akin to lost armor flakes, suggesting your roof’s protective layer is deteriorating. Finally, the integrity of the flashing around chimneys, vents, and skylights must be solid—any separation or rust could be the gateways for water intrusion.
Immediate Actions to Mitigate Roof Leak Damage
When you suspect a roof leak, it’s crucial to act swiftly to minimize potential damage. Contain any dripping water with buckets or towels to protect your floors and belongings. If you spot bulging in your ceiling, cautiously poke a hole in the center to allow water to drain—this prevents water from spreading and causing additional ceiling damage. Always remember, safety comes first; if you’re uncomfortable performing any of these steps, it’s wise to reach out for professional assistance.
Maintaining Your Roof’s Health
Preventative maintenance is key to extending the lifespan of your roof and avoiding future leaks. Cleaning your gutters regularly ensures proper drainage, preventing water from backing up under your shingles. Inspecting your roof periodically, especially after severe weather, can reveal early signs of wear and the need for repairs. By establishing a routine of care, which includes professional inspections, you’re investing in your home’s longevity and comfort.
Step 1: Identify the Leak Source
First, you’ll need to locate the origin of the roof leak. Often, this can be done by inspecting the attic or the highest point in your home where stains or water are visible. Look for signs of water penetration, such as dark spots or mold.
Step 2: Inspect Roof Vents and Flashings
Examine all roof penetrations, such as vents and flashings since these are common leak sources. Check for cracks, breaks, or gaps in the sealant or the vents and flashings themselves.
Step 3: Check for Missing or Damaged Shingles
From the outside, inspect your roof for any missing, cracked, or curled shingles. Damaged shingles can allow water to seep through to the underlayment and into your home.
Step 4: Seal the Leak
Once you’ve found the leak, apply roof sealant or cement to the affected area for a quick fix. For shingles, lift the damaged shingle and apply roofing sealant underneath it.
Step 5: Replace Damaged Shingles
If the shingle is beyond repair, it’s best to replace it. Carefully remove the nails holding the shingle in place, install the new shingle, and secure it with nails and sealant.
Step 6: Clear Debris from Gutters and Downspouts
Ensure that gutters and downspouts are clear of debris that might cause water to back up and enter the home. Proper water flow away from your home is essential in preventing leaks.
Step 7: Insulate the Attic
Proper attic insulation and ventilation prevent the buildup of condensation that can lead to water damage. Ensure your attic is well insulated, especially before wetter seasons.
Step 8: Schedule Regular Roof Inspections
Prevent future leaks by scheduling routine roof inspections, ideally twice a year, with a professional roofing service like JJ Landerman Roofing to catch and address potential issues early.
Common DIY Roof Repair Mistakes to Avoid
A successful DIY roof repair requires not just enthusiasm but also knowledge and precaution. Many homeowners venture into roof repairs with confidence only to encounter pitfalls that could have been avoided. Understanding these common blunders can save time, money, and potentially prevent further damage to your home.
Mistake 1: Neglecting Safety Measures
Attempting a roof repair without the proper safety gear or precautions can lead to accidents. Always wear non-slip shoes, use a sturdy ladder, and consider a safety harness.
Mistake 2: Incorrect Leak Identification
Simply patching the area of the ceiling that shows water damage might not fix the leak. Water can travel from the initial leak point, so thorough inspection in the attic or along the roof to locate the actual source is critical.
Mistake 3: Using Inadequate Sealants
Not all sealants are suitable for all roofing materials or weather conditions. Research and select a sealant appropriate for your roof type and the local climate in Agawam, MA.
Mistake 4: Ignoring Nearby Flashings
When sealing or replacing shingles, it’s easy to overlook the flashings. Always check and repair any adjoining flashings to prevent future leaks.
Mistake 5: Improper Shingle Replacement
When replacing shingles, using the wrong nails or not aligning the shingles correctly can compromise the repair. Follow manufacturer guidelines for nail type and placement.
Mistake 6: Overlooking Gutter Health
A common oversight is not clearing or repairing gutters. Clogged gutters can cause water to back up under the shingles, leading to leaks.
Mistake 7: Inadequate Attic Insulation
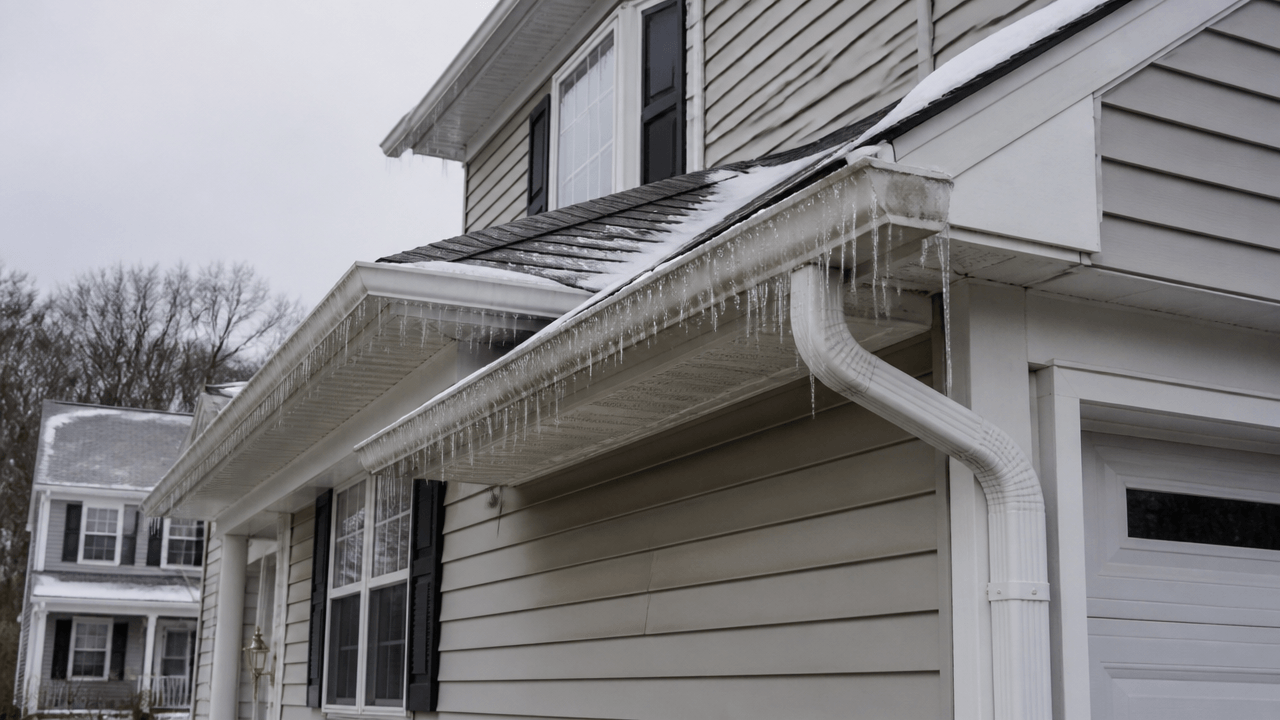
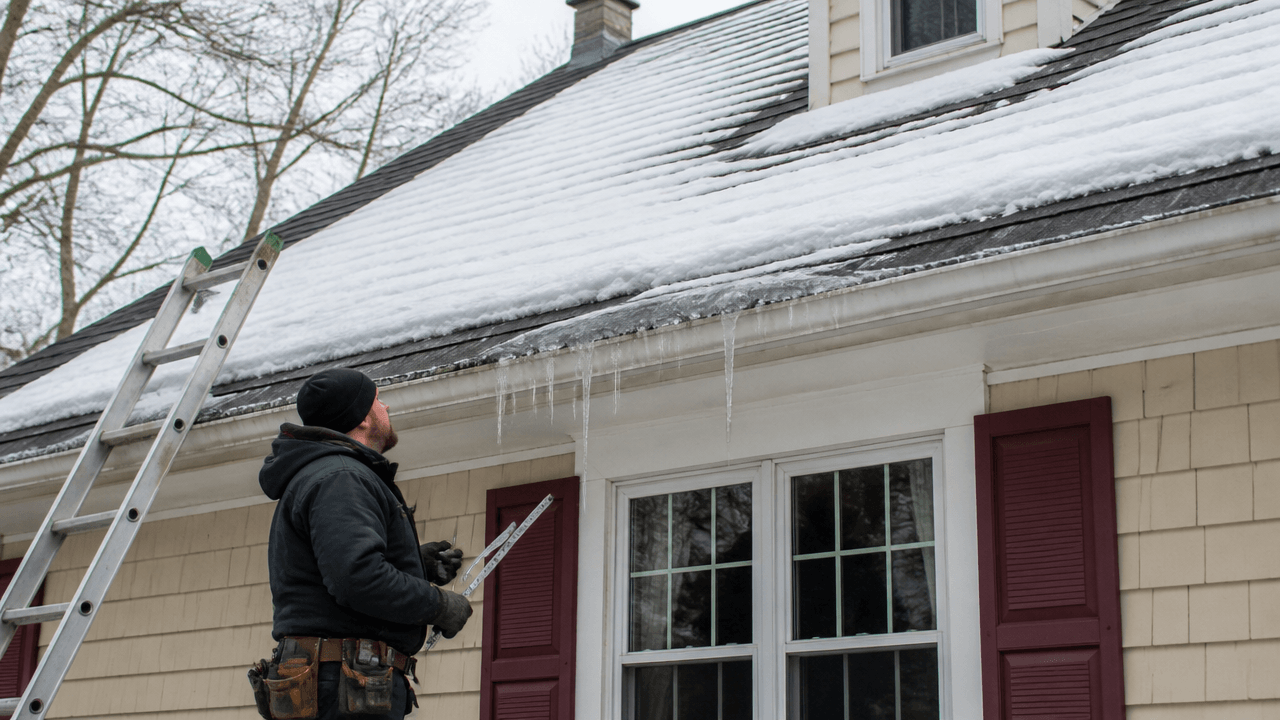
Improper or insufficient insulation can cause heat to escape, leading to ice dams, which can damage the roof. Make sure attic insulation is up to standard.
Mistake 8: Forgoing Regular Professional Inspections
Skipping on regular professional roof inspections can allow minor issues to escalate. Trusted roofers from JJ Landerman Roofing can spot and address issues you might miss.
Professional Roof Repair and Maintenance
Timely repairs can save your roof from more significant issues down the line. Working with expert roofing professionals ensures that all aspects of roof repair are handled efficiently and safely. Trusting the pros means putting your home in hands that are both skilled and equipped to deliver quality workmanship.
Protecting Your Investment
Your roof is a critical component of your home’s overall structure and its first line of defense against the elements. Regular maintenance by knowledgeable roofers can prevent the stress of unexpected leaks. A well-maintained roof contributes not only to the safety of your home but also to its aesthetic appeal and resell value.