• Spot warning signs like cracked shingles and gutter granules to know when to replace your roof
• Follow a step-by-step guide that ensures a smooth installation and protects your home from Hadley weather
• Learn common DIY mistakes to avoid and why professional roofing services are your best bet for a secure home
Recognizing the Signs of Roof Trouble
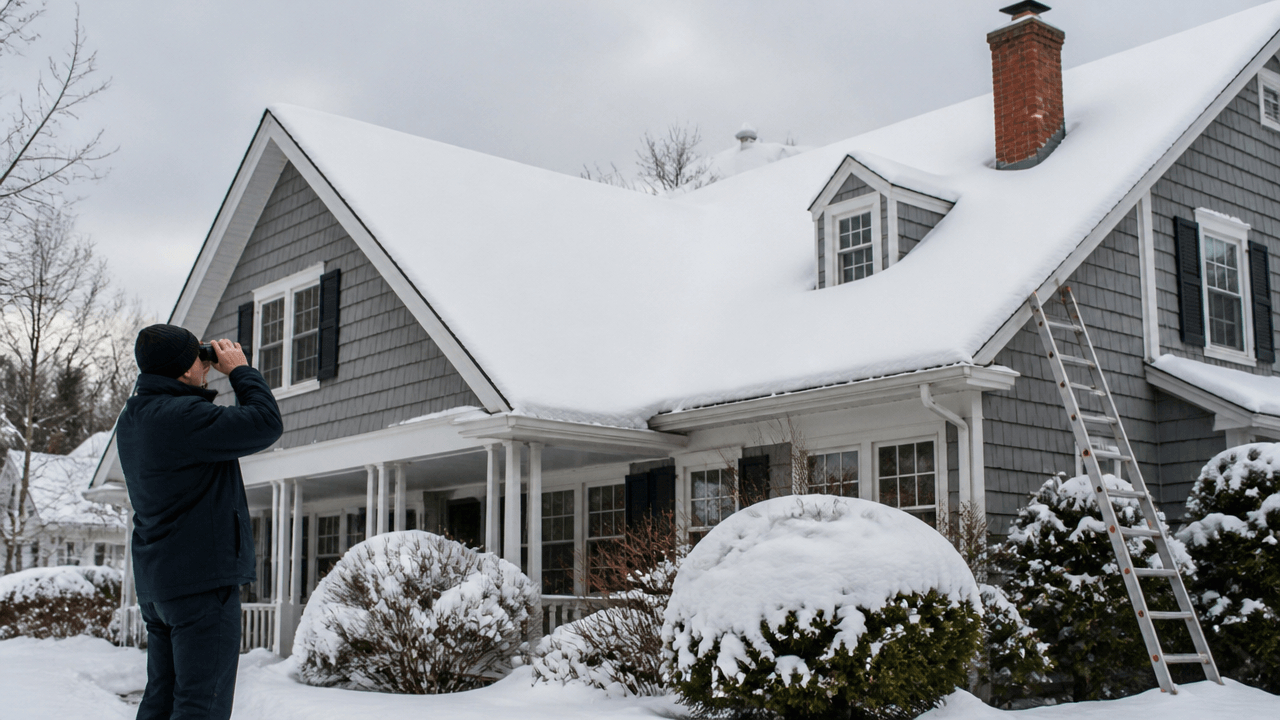
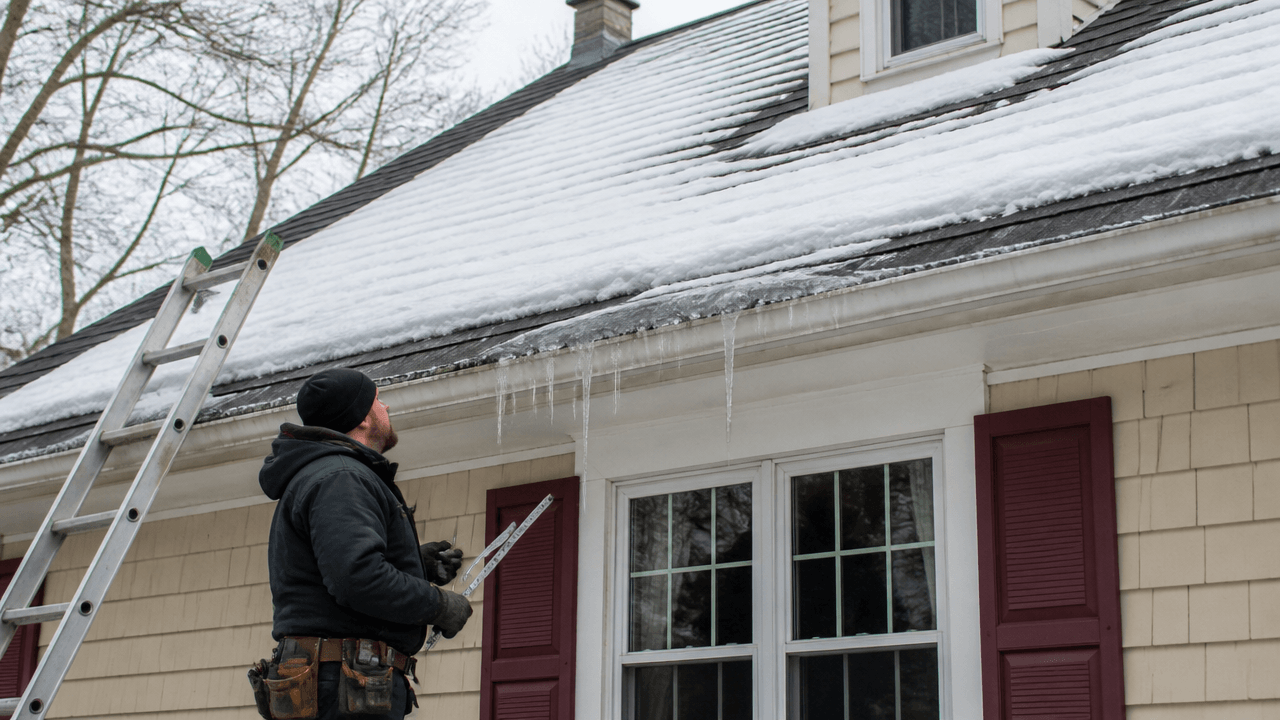
For homeowners in Hadley, the integrity of your roof is crucial to your home’s overall wellbeing. Visible damage to shingles, such as cracking or curling, often signals that your roof may require attention. It’s not just the shingles themselves; your gutters hold clues too—if they’re filled with granules, it indicates advanced wear. Timely detection of these issues is your first step towards maintaining a secure and healthy home environment.
Timing Your Roof Replacement
When considering a roof replacement, it’s essential to choose the right time of year for the project. In Hadley, summer offers the ideal conditions for roofing, providing clear skies and warm temperatures that aid in installation and curing. Planning your replacement during this season can significantly reduce the risk of weather-related setbacks. Early detection and scheduling are key to a smooth and efficient roof replacement process.
Making the Right Material Choice
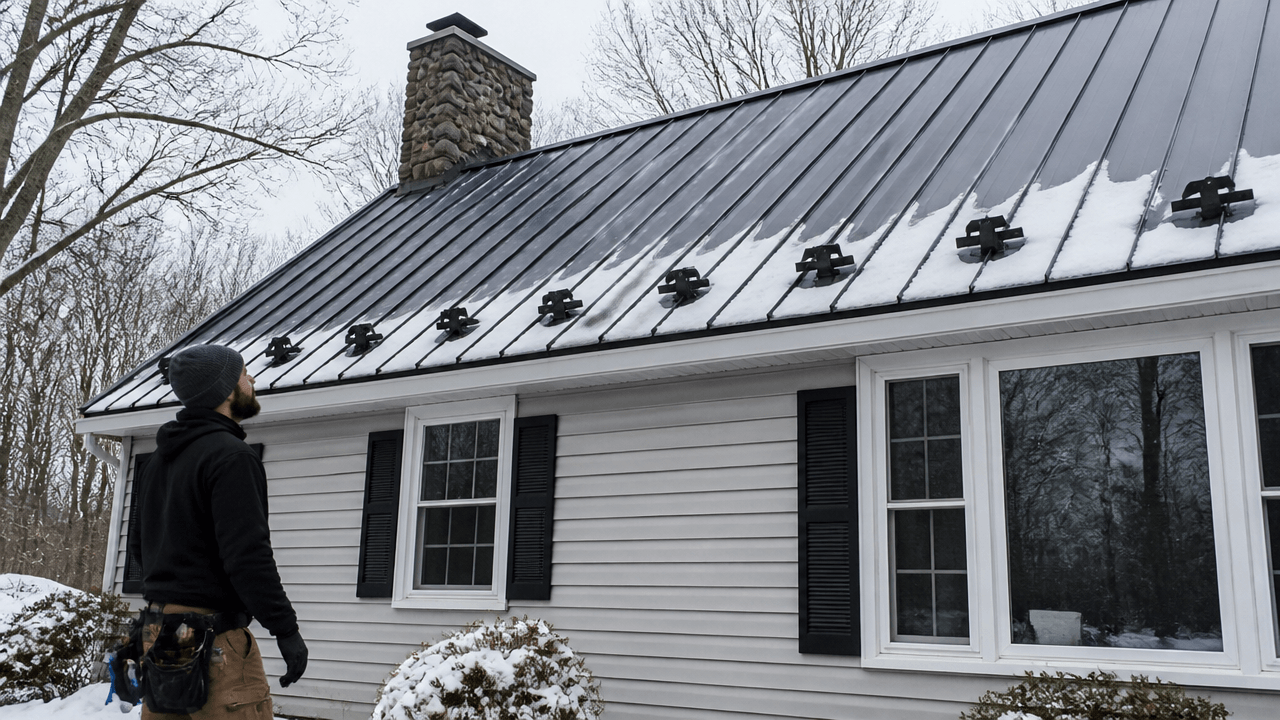
Selecting the best material for your roof is paramount in ensuring its longevity, especially given Hadley’s seasonal extremes. From the popular durability of asphalt shingles to the sleek appearance of metal, each option offers unique advantages. Your choice should reflect the needs of your home both functionally and aesthetically. An informed decision will protect your property and enhance its curb appeal for years to come.
Preparing Your Home for Roof Replacement
Before embarking on the roof replacement journey, preparing your property is a step you cannot afford to skip. Ensure the surrounding area is free of items that might be impacted by falling debris, safeguarding your landscaping and outdoor features. It’s also wise to cover any items stored in your attic to shield them from dust or stray nails. This preparation minimizes potential damage and sets the stage for a smooth transition to a new roof.
The Importance of a Professional Approach
While understanding the process of replacing your roof can be empowering, the actual work is best entrusted to skilled professionals. Engaging experts ensures that the job is done accurately and efficiently, adhering to the highest industry standards. With the right team, you’ll have peace of mind knowing that every shingle laid is a step towards a more secure and durable roof. Professionals bring not just their expertise, but also an understanding of local building codes and the particular challenges posed by the climate in Hadley.
Step 1: Evaluate Your Roof’s Condition
Examine your roof to assess the extent of wear or damage. Look for missing, curled, or cracked shingles, and check the gutters for shingle granules—a sign of advanced wear.
Step 2: Choose the Right Season
In Hadley, MA, plan your roof replacement during the summer, when weather conditions are most favorable for outdoor construction work, to avoid delays and complications.
Step 3: Select Quality Roofing Materials
Decide on the best roofing materials for your home, considering factors like durability, climate compatibility, and aesthetics. Common choices include asphalt shingles, metal, or tiles.
Step 4: Prepare Your Property
Before work begins, clear your yard of any obstacles, protect your landscaping, and view and cover valuables in the attic as roof replacement can cause debris to fall.
Step 5: Remove Old Roofing
Safely strip away the old roof layers to expose the wooden deck. Inspect the deck for any signs of rot or damage and make necessary repairs.
Step 6: Install New Roofing Underlayment
Apply a new underlayment, which provides an additional barrier against water and ensures compliance with local building codes in Hadley, MA.
Step 7: Install New Roofing Material
Following manufacturer guidelines, install new roofing material, starting from the bottom edge of the roof and working your way up to ensure proper overlap and sealing.
Step 8: Cleanup and Final Inspection
Remove all debris and conduct a thorough inspection of the new roof. Ensure that all materials are properly secured and that the workmanship meets your standards and local building regulations.
Steering Clear of Common Roof Replacement Mistakes
While the ambition of a DIY roof replacement is commendable, it’s a task fraught with potential pitfalls. Overlooking critical signs of damage or choosing the wrong materials can lead to costly and possibly dangerous outcomes. Understanding these common blunders helps ensure your project progresses smoothly from assessment to installation.
Mistake 1: Neglecting a Thorough Inspection
– Many homeowners rush into repairs without a meticulous evaluation, which can lead to overlooking hidden issues. Always perform a detailed assessment, searching for subtle signs of damage.
Mistake 2: Ignoring the Weather Factor
– It’s tempting to start right away, but in Hadley, MA, timing your replacement for the summer is crucial. Choosing the wrong season can introduce unnecessary obstacles, such as rain delays or cold temperatures that affect material adhesion.
Mistake 3: Skimping on Materials
– A common pitfall is selecting roofing materials based solely on cost rather than suitability for the local climate or home’s structural requirements. Invest in quality roofing materials that cater to Hadley’s unique weather patterns for better durability.
Mistake 4: Inadequate Property Protection
– Roof replacements can send debris flying, potentially harming your property and belongings. Take preventative steps by clearing the vicinity of your house and shielding objects in your attic from falling objects and dust.
Mistake 5: Improper Removal of Old Roofing
– Some DIYers may only patch over existing issues rather than stripping old layers, which can lead to more significant complications. Always remove the old roofing completely to inspect and fix the substrate before moving on.
Mistake 6: Incorrect Underlayment Installation
– The underlayment is the unsung hero of roof longevity, yet it’s often improperly installed. Follow local building codes and manufacturer instructions to ensure a watertight base for your shingles.
Mistake 7: Misaligning Roofing Material
– When installing new shingles or other materials, incorrect placement can lead to leaks. Employ proper techniques, starting from the bottom edge and working upward, securing each layer accurately.
Mistake 8: Overlooking the Final Cleanup and Inspection
– The job isn’t done once the last shingle is in place. A thorough cleanup followed by a meticulous inspection is essential to ensure every aspect of the installation is up to standards, safeguarding your investment.
The Deconstruction Phase
Tackling the existing roof requires careful deconstruction to prepare for the new installation. Crews will methodically strip away old materials, ensuring each section is clean and ready for the new underlayment and shingles. It’s during this phase that any hidden issues, like rotted wood or structural damage, can be discovered and addressed.
Laying the Foundation for Your New Roof
With the old materials removed, installing a high-quality underlayment is your next critical step. This layer acts as a barrier against water and a base for your new shingles or chosen materials. Ensuring proper underlayment installation is vital for the roof’s longevity and effectiveness, especially in Hadley’s varied climate.