• Learn safety precautions and ideal weather conditions for moss removal
• Discover the right solution mix and application technique to clean your roof
• Understand post-cleaning care and preventive measures to keep moss from returning
Recognizing the Warning Signs of Moss Accumulation
When you look up at your Hadley home’s roof, the sight of green, velvety moss might seem like a quaint touch of nature at first. However, this unassuming plant can become a silent destroyer, compromising the integrity of your roof over time. If you find thick patches or a blanket of moss, it’s a clear indication that it’s time for action. Beware especially of moss around shingles, as it can cause them to lift or curl, leading to potential leaks and water damage.
The Problems Moss Can Create
Moss thrives in environments that remain consistently moist and often indicates poor drainage or shading issues on your roof. Not only does it retain moisture against the roofing surface, risking rot and decay, but it can also start to grow underneath the shingles, pushing them apart. This growth can lead to costly repairs and even require premature roof replacement if not addressed promptly. Pay close attention to moss development, especially after the damp seasons, as that is when moss tends to grow the most.
Safe Inspection Practices
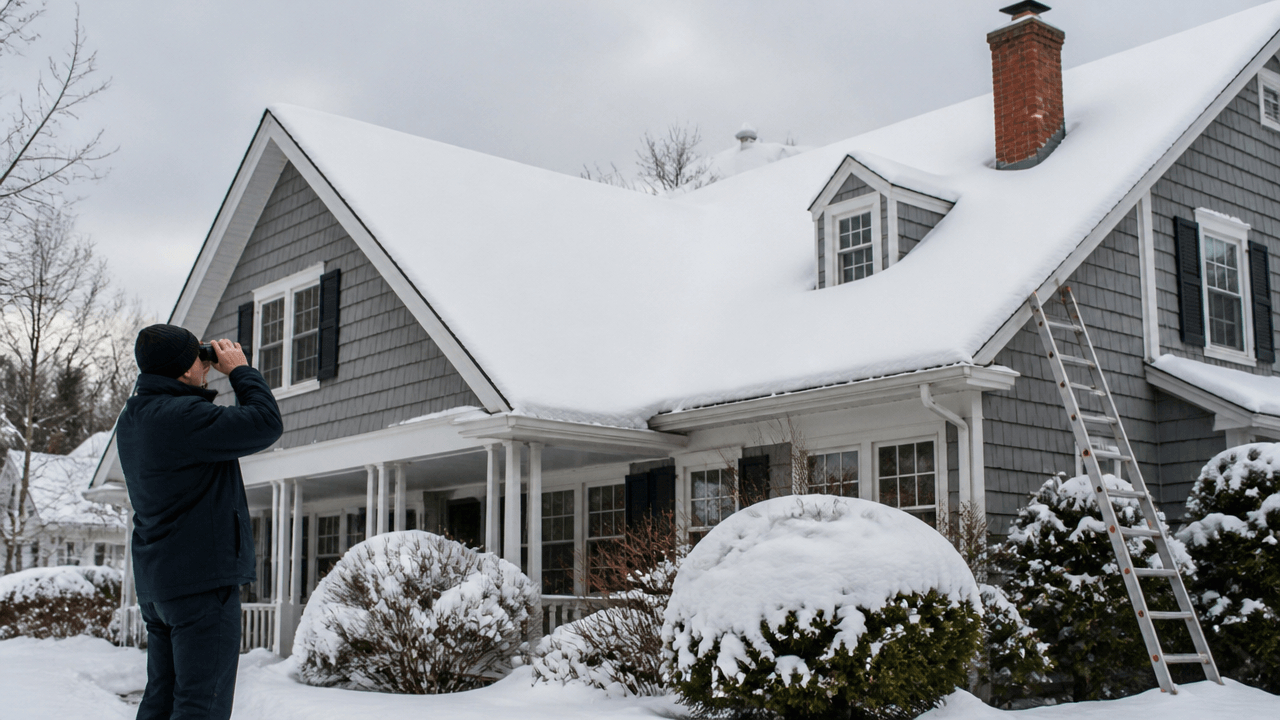
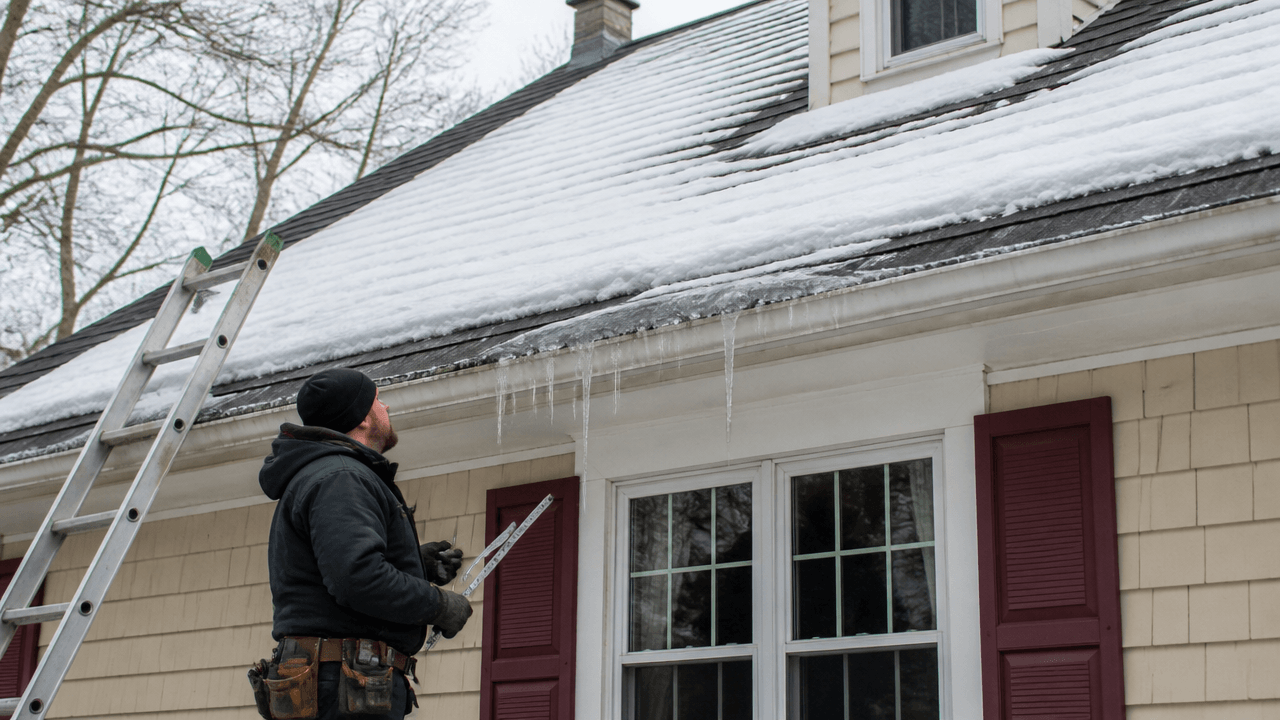
Before you climb up to inspect your roofing situation, remember that your safety is paramount. Always use a sturdy ladder to access your roof and wear non-slip shoes to prevent any falls. Consider investing in a safety harness if you’re planning to walk on the roof. It’s not just about taking care of the moss — it’s about taking care of yourself while you tackle how to clean moss off your roof.
Preparing for a Moss-Free Roof
Choosing the optimal day for moss removal in Hadley, MA can significantly affect the effectiveness of the cleaning process. Look for a day where the sky is cloud-covered to ensure the cleaning solution does not dry up too quickly on your roof’s surface. This weather also provides a cooler environment for you to work in, which is essential for avoiding heat exhaustion during the labor-intensive cleaning process. Connect with JJ Landerman Roofing professionals for advice on the best times and practices for roof maintenance.
Effective Moss Removal Solutions
Preparing the right cleaning concoction is crucial to safely dislodge moss from your shingles without causing damage. A balanced mix of household bleach and water is commonly effective, but for those looking for more eco-friendly options, there are safe commercial products available. It is important to apply the solution evenly to avoid oversaturation, which can harm your roofing materials. Always prioritize a gentle approach to safeguard the longevity and integrity of your roof as you deal with the moss issue.
Step 1: Assess Your Roof’s Moss Problem
Begin by evaluating the extent of moss buildup on your roof. Take necessary safety precautions — use a sturdy ladder, wear non-slip shoes, and consider using a safety harness.
Step 2: Choose a Dry, Overcast Day
Select a day for cleaning that is dry with minimal sun exposure. This will prevent the cleaning solution from evaporating too quickly and will protect you from direct sunlight.
Step 3: Prepare Your Cleaning Solution
Mix a moss removal solution that is suitable for roofing materials. You can create a DIY mixture of 1 part bleach to 1 part water or opt for an environmentally friendly, commercial moss remover.
Step 4: Apply the Solution
Using a garden sprayer, apply the solution evenly over the moss-covered areas. Avoid over-saturating to prevent damage to the shingles and ensure the solution is absorbed by the moss.
Step 5: Let the Solution Sit
Allow the solution to sit on the moss for about 20-30 minutes. This will kill the moss and make it easier to remove without harsh scrubbing that can damage the roof.
Step 6: Gently Scrub the Moss Away
After the solution has had time to work, gently scrub the moss off with a soft-bristle brush. Start from the top of your roof and work downward to avoid lifting shingles and causing damage.
Step 7: Rinse Your Roof
Thoroughly rinse your roof with water from a garden hose, starting from the top and working your way down. Ensure all cleaning solution and loose moss are washed away.
Step 8: Prevent Future Moss Growth
To discourage moss from returning, consider installing zinc or copper strips at the ridge of your roof, which release metal ions that can prevent moss growth. Additionally, keep your roof free of debris and trim overhanging branches to reduce shade and moisture.
Common Mistakes to Avoid During DIY Moss Removal
When it comes to DIY moss removal from your roof, being well-informed can save you from costly errors. DIY enthusiasts often dive into projects with enthusiasm but without fully understanding the right methods, leading to mistakes that can damage your roof further. Here are some of the most common missteps to be aware of, which will help you maintain the efficacy of your efforts and ensure the longevity of your roof.
Mistake 1: Neglecting Safety Measures
Many homeowners underestimate the risks involved in roof work. Always use a sturdy ladder, wear non-slip shoes, and avoid working alone. Safety harnesses are recommended, as a fall from the roof can result in serious injury.
Mistake 2: Using the Wrong Weather Conditions
Trying to clean moss off your roof on a sunny day can cause the solution to evaporate quickly, reducing its effectiveness. Always opt for a dry, overcast day to ensure the solution has ample time to work on the moss.
Mistake 3: Over-Concentration of Cleaning Solutions
A common error is using too strong a solution, believing it will be more effective. This can damage roofing materials. Stick to the recommended blend of bleach and water or use commercial moss removers designed for roofs.
Mistake 4: Overzealous Application
Applying too much solution can lead to oversaturation, which risks not only the shingles but also the structure beneath. Use a garden sprayer to apply the solution with control and precision.
Mistake 5: Not Allowing Enough Sitting Time
Impatience can lead to scrubbing the moss too soon, which might not be as effective and could harm your roof. Give the solution time to fully penetrate the moss.
Mistake 6: Harsh Scrubbing Techniques
Gentle scrubbing is key; using too much force can damage shingles. Use a soft-bristle brush and work carefully to remove the moss.
Mistake 7: Incomplete Rinsing
Skipping thorough rinsing can leave harmful residues, which might deteriorate roofing materials over time. Ensure you thoroughly rinse the roof after the moss removal process.
Mistake 8: Ignoring Preventative Measures
Once the moss is removed, neglecting preventive measures can lead to quick recurrence. Install metal strips and regularly clear debris to keep moss at bay.
Application and Waiting: The Core of Moss Removal
After preparing your cleaning mixture, it’s time to apply it to the mossy areas with care. Use a garden sprayer for even distribution, and ensure you don’t soak the shingles to prevent potential water damage. This step is key; the solution needs time to penetrate the moss and begin the killing process.
The Final Clean Up
Post-application, a patient wait will allow the solution to effectively kill the moss, making it easier to remove. Gently brushing the moss away with a soft-bristle brush is essential to avoid damaging your precious shingles. Once the moss is gone, a thorough rinse from top to bottom ensures that your Hadley home’s roof is clean and moss-free.