• Discover essential signs of flat roof flashing damage and why timely repair is crucial
• Step-by-step guide to inspecting, preparing, and fixing your flat roof flashing effectively
• Common DIY mistakes to avoid ensuring a secure and lasting flat roof repair
Identifying Flat Roof Flashing Problems
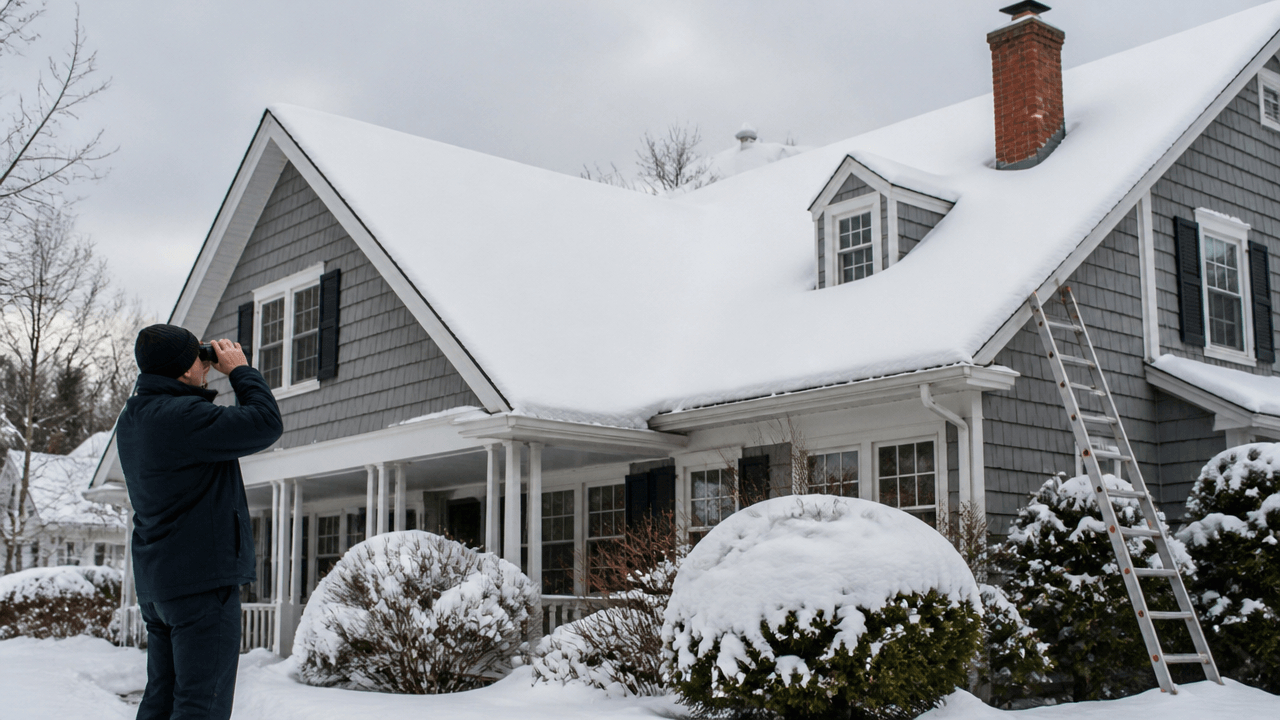
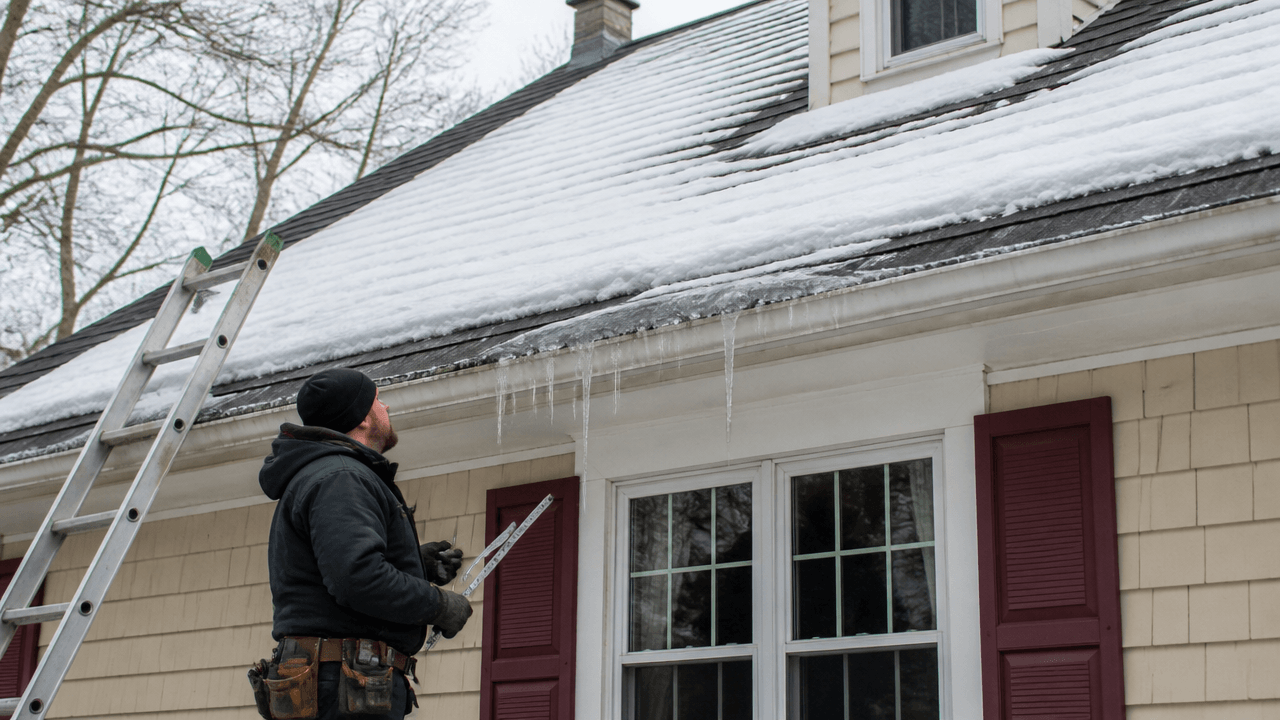
Before you embark on the journey of repairing or installing flat roof flashing, it’s crucial to recognize the trouble signs that call for your attention. Start by looking for any obvious damage such as splits or cracks in the existing flashing material—these are clear indicators that water could be seeping into your structure. Also, keep an eye out for any parts of the flashing that appear to be pulling away from the roof surface, as this separation can lead to severe leaks. Regular inspection helps you catch these issues early, ensuring a swift and effective repair process.
The Subtle Signs of Flashing Failure
Sometimes the signs of potential flashing failure aren’t as obvious to the untrained eye. Discoloration or staining on the ceilings inside your property might be the only subtle hint of the compromised integrity of your flat roof’s flashing. If you notice any rust formation around metal fixtures on the roof, this can signal long-term water exposure due to inadequate flashing protection. Bear in mind that taking action at the first sign of trouble is key to avoiding more significant, costly damages down the line.
Preparing for Repairs
Should you uncover any signs of damage during your inspection, preliminary steps are necessary to ensure a successful repair. Ensuring that the affected area is thoroughly clean and free from debris is paramount; this preparation paves the way for the strong adhesion of new materials. Replacing compromised flashing is not just about solving an immediate leak—it’s about fortifying your roof against the elements, a crucial consideration, particularly during New Britain’s warm, rainy summer season.
Step 1: Inspect Your Flat Roof
Begin by examining your flat roof for any signs of damage or wear around the flashing areas. Look for gaps, lifting, or rust that could indicate flashing issues.
Step 2: Prepare the Area
Clean the area around where the flat roof flashing will be installed or repaired. Remove any debris, old caulking, or sealant residues to ensure a clean working surface.
Step 3: Measure the Flashing Area
Measure the perimeter of the area that needs new flashing, such as around vents, edges, or intersecting walls. Use these measurements to cut the appropriate amount of flashing material.
Step 4: Cut the Flashing Material
With the measurements from the previous step, carefully cut your flashing material to size, ensuring that each piece fits snugly against the fixtures or roof edges.
Step 5: Apply Sealant
Apply a generous amount of roofing sealant along the area where the flashing will be placed. Ensure a continuous, even layer for optimal adhesion and waterproofing.
Step 6: Install the Flashing
Press the cut flashing firmly into the sealant. Apply pressure across the entire surface to bond the flashing to the roof substrate and create a watertight seal.
Step 7: Secure the Flashing
Secure the flashing by using appropriate fasteners for your roof type. Overlap each piece of flashing correctly to prevent any possible water penetration.
Step 8: Final Inspection and Seal
Once the flashing is installed, inspect your work to ensure there are no gaps or lifted edges. Apply an additional sealant layer over the flashing edges to reinforce the waterproof barrier. Allow it to cure as per the manufacturer’s instructions.
Common DIY Flat Roof Flashing Mistakes to Avoid
When undertaking the task of fixing or installing flat roof flashing, even the most diligent homeowners can fall prey to common errors. These mistakes can lead to further damage, potentially turning a simple fix into a costly repair. This section aims to outline some of the most frequent missteps, providing insights on why they happen, and advice on how to prevent them, ensuring your efforts in maintaining your flat roof are successful and enduring.
Mistake 1: Overlooking Small Signs of Damage
Many DIY enthusiasts tend to wait for significant, visible damage before considering roof repairs. However, even minor gaps or slight lifting can lead to major issues if not addressed promptly. To prevent this, perform regular inspections and address any issues, no matter how small, as soon as they are detected.
Mistake 2: Inadequate Cleaning
A common oversight is not cleaning the area thoroughly before installation. The presence of debris and old sealant can prevent the new flashing from adhering properly. Always clean the area and remove old material to ensure a clean and ready surface for the new flashing.
Mistake 3: Poor Measurement and Cutting
Often, individuals will eye measurements or rush the cutting process, resulting in ill-fitting flashing that cannot properly protect against water ingress. Precise measurement and careful cutting are crucial to ensure that each piece fits perfectly and provides maximum protection.
Mistake 4: Applying Insufficient Sealant
Skimping on sealant or applying it unevenly can lead to weak spots where water can enter. It’s imperative to apply a generous, even amount of sealant for a watertight bond between the flashing and the roof’s surface.
Mistake 5: Incorrect Flashing Installation
Improper installation of flashing leads to ineffective water diversion. When installing, press it firmly into the sealant and ensure each section overlaps correctly with the next to prevent leaks.
Mistake 6: Neglecting to Secure Flashing Adequately
Failing to properly secure the flashing with suitable fasteners can result in displacement or damage during adverse weather. Use the right fasteners and spacing to securely anchor the flashing to the roof.
Mistake 7: Skipping Final Inspection and Additional Sealant
The last step is sometimes overlooked, leading to missed gaps and lifted edges. Conduct a thorough final inspection and apply an extra sealant layer for added durability and assurance. Allow adequate curing time as specified by the product instructions for the best result.