• Quick response to roof damage is crucial – learn emergency tarp installation to protect your home.
• Key safety measures for secure tarp placement on damaged roofs, ensuring personal and property safety.
• Expert tips on maintaining and assessing tarp installations to guarantee effective temporary roof protection.
Ensuring a Secure and Lasting Installation
Once your emergency tarp is in place, the key task is to inspect the installation regularly. Even a well-secured tarp can suffer wear and tear from New Haven’s harsh winter conditions. Look for signs like pooling water, which can indicate sagging or inadequate slope. Small tears may develop into larger issues if not addressed promptly, potentially exposing your home to water damage. Keep a vigilant eye on your tarp’s condition, as a proactive approach is always cheaper and less stressful than emergency repairs.
Understanding that your tarp is a temporary solution is vital. Consistent monitoring will help bridge the gap to permanent repairs with minimal additional impact. Should you notice signs of the tarp’s failure, don’t hesitate to contact the experts at JJ Landerman Roofing for advice or assistance. The right expertise can mean the difference between a quick fix and a significant overhaul. Remember, the importance of professional assessments and interventions cannot be overstated when dealing with roof damage.
Finally, with your emergency tarp in place and properly maintained, you can rest assured that your home is safeguarded against further damage. When the time comes for permanent repairs, choose a reputable provider like JJ Landerman Roofing, where craftsmanship and service are unmatched. They specialize in comprehensive solutions that go beyond mere patches to ensure your home remains secure and dry for years to come. Trust in their proven track record to handle your roofing needs with professionalism and care. In this way, you secure peace of mind, knowing that your emergency preparedness has paved the way for lasting home protection.
Immediate Action for Roof Protection
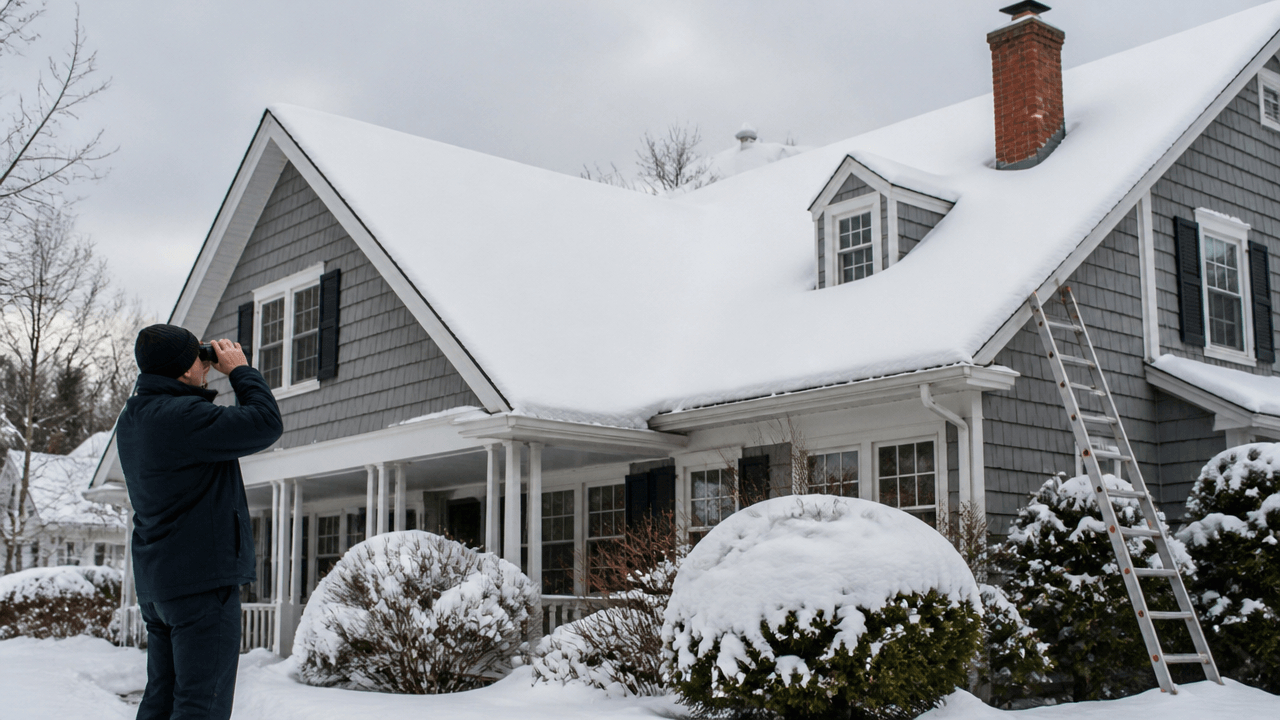
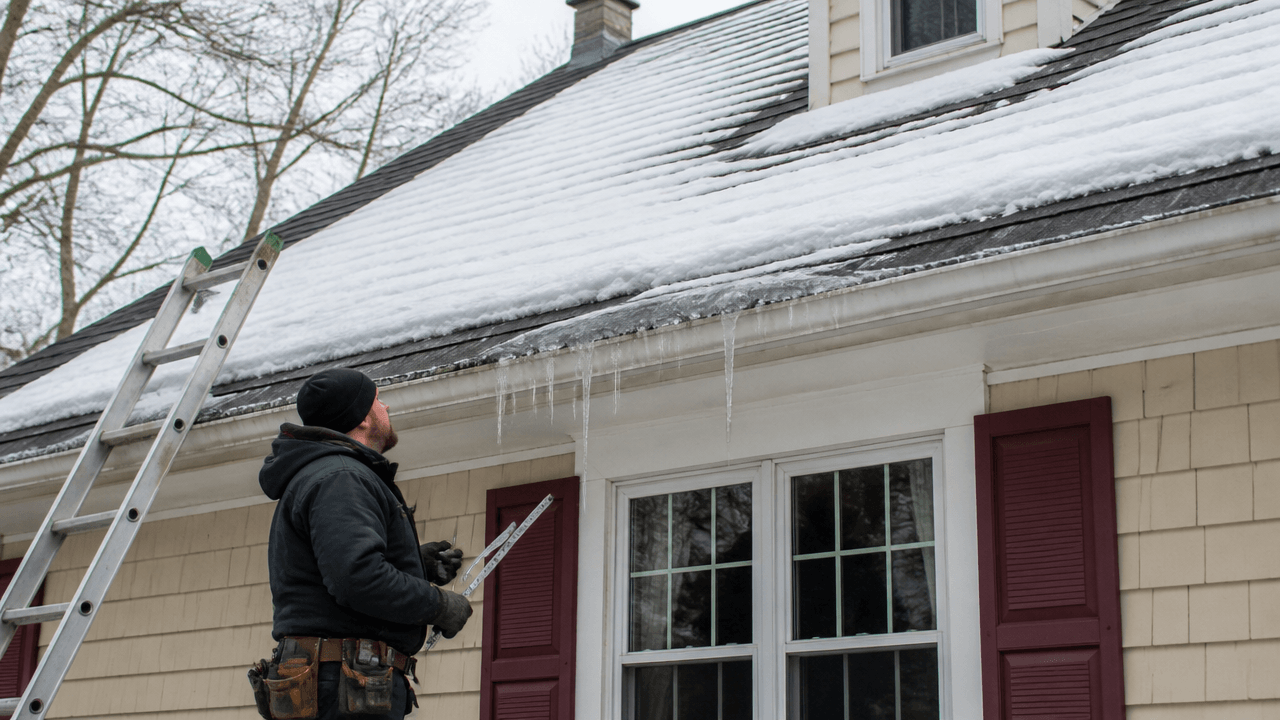
When the skies clear after a brutal storm in New Haven, the silence can be as overwhelming as the havoc it wrought. Homeowners often find themselves facing the aftermath, where quick decision-making is paramount. Waiting is not an option as the integrity of your home hangs in the balance. This is when understanding emergency tarp installation best practices becomes critical. It’s not just about covering up; it’s about safeguarding your sanctuary until help arrives.
The purpose of a tarp is not merely to patch up a problem temporarily. It’s an essential shield against further harm brought on by unpredictable weather. With New Haven’s winter winds still around, an emergency tarp acts as a barrier, keeping the elements at bay. Knowing how to properly install this protective layer is knowledge every homeowner should arm themselves with. It ensures that despite the severity of the storm, your home remains a stronghold, sheltering you and your loved ones.
Understanding the distress you may experience upon discovering a compromised roof can make the dilemma feel insurmountable. However, with the right instructions and a steady hand, placing a tarp can be a seamless task. In the following sections, I will guide you through each step, ensuring no detail is left unchecked. You’ll learn how quickly to act, what materials to use, and the technique to secure everything in place. By the end of this guide, you’ll be prepared to confidently tackle any roofing emergency that comes your way.
Ensuring a Secure and Lasting Installation
Once your emergency tarp is in place, the key task is to inspect the installation regularly. Even a well-secured tarp can suffer wear and tear from New Haven’s harsh winter conditions. Look for signs like pooling water, which can indicate sagging or inadequate slope. Small tears may develop into larger issues if not addressed promptly, potentially exposing your home to water damage. Keep a vigilant eye on your tarp’s condition, as a proactive approach is always cheaper and less stressful than emergency repairs.
Understanding that your tarp is a temporary solution is vital. Consistent monitoring will help bridge the gap to permanent repairs with minimal additional impact. Should you notice signs of the tarp’s failure, don’t hesitate to contact the experts at JJ Landerman Roofing for advice or assistance. The right expertise can mean the difference between a quick fix and a significant overhaul. Remember, the importance of professional assessments and interventions cannot be overstated when dealing with roof damage.
Finally, with your emergency tarp in place and properly maintained, you can rest assured that your home is safeguarded against further damage. When the time comes for permanent repairs, choose a reputable provider like JJ Landerman Roofing, where craftsmanship and service are unmatched. They specialize in comprehensive solutions that go beyond mere patches to ensure your home remains secure and dry for years to come. Trust in their proven track record to handle your roofing needs with professionalism and care. In this way, you secure peace of mind, knowing that your emergency preparedness has paved the way for lasting home protection.
Proven Tarp Installation Tactics
Tip 1:
Inspect your tarp for any defects or weaknesses before beginning installation. A compromised tarp won’t offer the protection your home needs and could lead to further damage.
Tip 2:
Always use sturdy, weatherproof materials to secure the tarp, such as boards that can be nailed or screwed down safely. Avoid materials that can easily tear through the tarp, compromising its effectiveness.
Tip 3:
When installing the tarp, make sure it extends over the roof’s peak and down the opposite side to ensure comprehensive coverage, preventing water from pooling and causing leaks.
Tip 4:
Ensure the tarp is taut and secured at all corners to prevent wind lift. Loose tarps can easily be damaged by strong winds, exposing your property to the elements.
Tip 5:
Regularly check the tarp after installation for any signs of wear or damage and adjust as necessary. Prolonged exposure to harsh weather can weaken its integrity, necessitating a check-up to maintain protection.
Expert Answers to Your Tarp Installation Queries
How quickly should I install an emergency tarp after noticing roof damage?
Time is of the essence when it comes to roof damage; you should install a tarp as soon as safely possible to prevent water from entering and exacerbating the problem.
What safety measures should I take while installing a tarp on a damaged roof?
Prioritize personal safety by wearing non-slip shoes, using a sturdy ladder, securing yourself with a harness if possible, and working with a buddy to ensure stability and assistance.
Can emergency tarps be installed on any type of roofing material?
Yes, emergency tarps can be installed on virtually all roofing materials, but the installation technique may vary depending on the surface, so consult a professional if unsure.
How long can I expect an emergency tarp to last before needing permanent repairs?
While dependent on weather conditions and material quality, a well-installed emergency tarp can last several weeks to a few months, providing you with a temporary solution until permanent repairs are feasible.
What are the signs that the tarp installation is not secure and needs to be corrected?
Signs of an insecure tarp installation include noticeable flapping sounds, visible lifting in windy conditions, water leaks, and any loosening of the tarp’s anchoring points.