• Step-by-step guide on installing roof shingles tailored for Chicopee’s climate
• Tips to avoid common DIY roofing mistakes for a flawless finish
• Expert advice on maintaining your roof, with professional help recommended
Recognizing the Signs: When Is It Time to Replace Your Roof Shingles?
If you’re starting to find granules from your shingles in the gutters, or spot shingles around your Chicopee property after a storm, it’s a telltale sign that your roof needs attention. These granules help protect against sun and weather damage, and once they start falling off, it’s a clear indicator that your shingles are reaching the end of their lifespan. Similarly, if your shingles are curled, cracked, or missing, they’re not going to be effective at protecting your home from the elements. In harsh New England weather, these problematic signs demand prompt action to avoid more significant damage to your home.
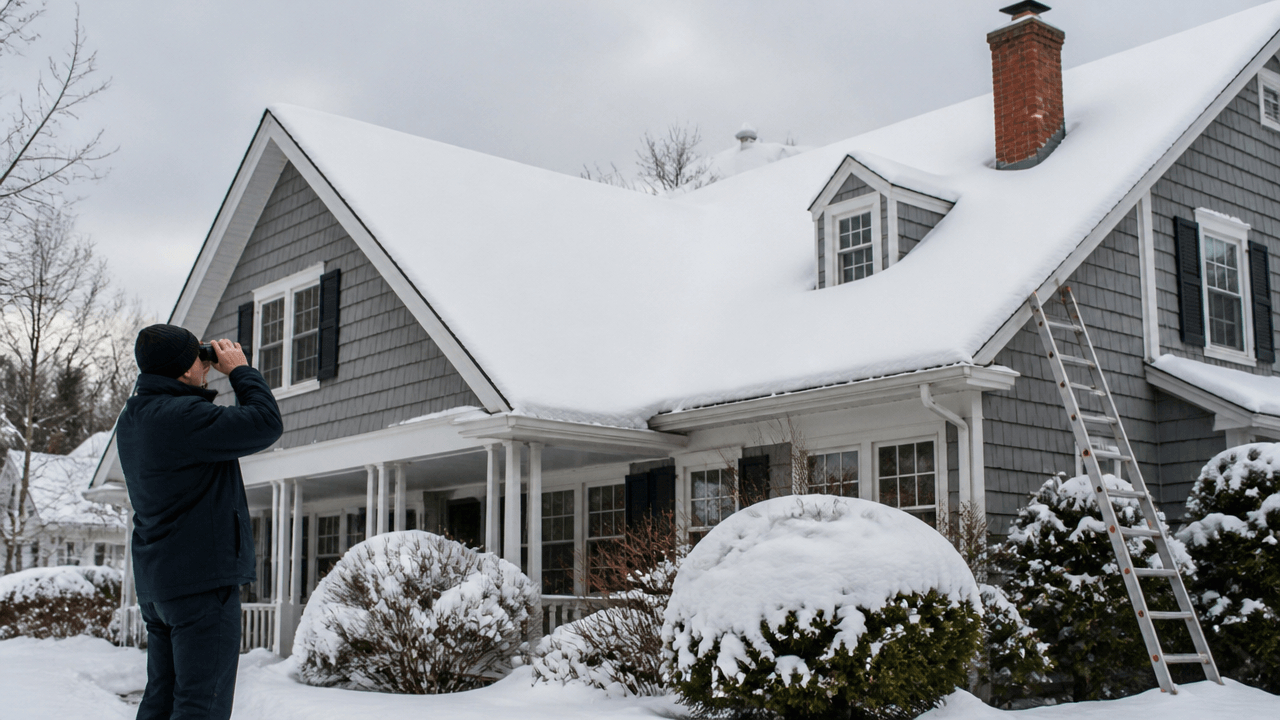
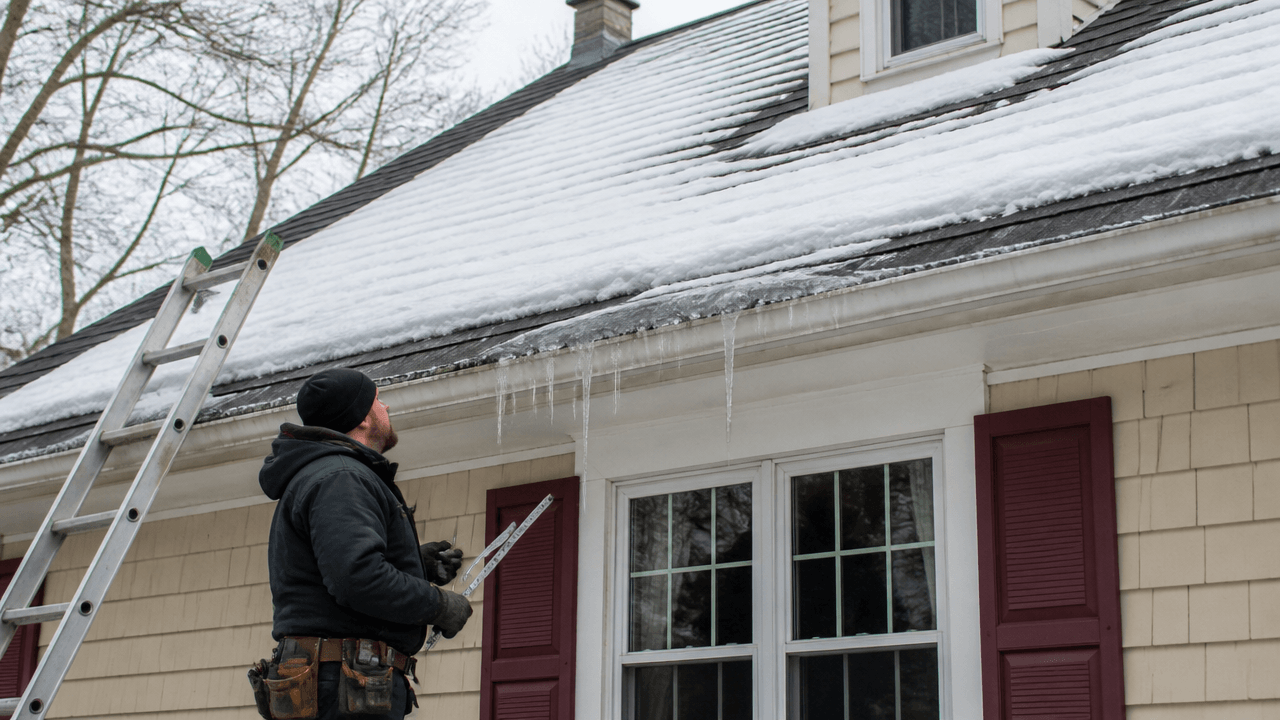
Inspecting your roof should be a routine task, especially after Chicopee’s notorious winter snows and summer storms. When you conduct your inspection, look for shingles that are buckling or appear wet, which could signal deeper issues such as a compromised roof deck. Moss or algae growth, while sometimes only a cosmetic issue, can also hold moisture and should be addressed before proceeding with new installation. Remember, it’s always best to address these issues quickly, as undetected damage can lead to costly repairs down the road.
Another crucial aspect to consider before the actual shingle installation is the overall integrity of the roof structure. Take the time to check for sagging or signs of water damage on the decking underneath the shingles. In some cases, you may need to consult with a professional to ensure that any structural problems are fixed before moving forward. Choosing the right materials to install roof shingles suited for local weather conditions and ensuring the base of your roof is sound are fundamental steps for a successful roofing project.
Preparing Your Roof for Shingle Installation
Embarking on a roof shingle installation project begins with meticulous preparation, a step that can’t be rushed to ensure the longevity of your roof. Removing old shingles offers the chance to inspect the wood decking for signs of rot or damage that the shingles may have been concealing. It’s imperative to replace any compromised areas, as a solid foundation is crucial for the new shingles to perform effectively. By ensuring that the decking is flat and free of protruding nails, you set the stage for a smoother installation process.
Once the deck is prepared, it’s pivotal to install a robust underlayment as it functions as an additional barrier against water infiltration. Chicopee’s seasonal downpours necessitate this protective layer to prevent leaks and potential water damage under the shingles. Overlapping each row of underlayment correctly will fortify your roof’s defense against the elements, a small but critical detail not to be overlooked. After the underlayment is secured, it’s time for the drip edge which helps to channel water away from the fascia and into the gutters, an essential component in maintaining the health of your roof system.
Laying the Groundwork for Shingle Placement
With the underlayment and drip edges in place, starting with a starter strip is the next critical step. These strips serve an important role, providing a clean look and effectively sealing shingle edges to prevent wind uplift. In the weather of Chicopee, particularly with its dynamic summers and harsh winters, reinforcing your shingles against wind is fundamental. Properly aligning and securing these starter shingles sets a strong foundation for the rest of your installation endeavor.
Following the starter strips, laying the first row of shingles requires precision, as it sets the tone for the entire roof’s appearance and functionality. Shingle alignment is crucial; stagger the seams to avoid potential leak paths and ensure each shingle overhangs the drip edge slightly to encourage proper water runoff. As you progress upwards with each row, don’t forget to check alignment frequently to maintain a uniform look across your roof. Visit JJ Landerman Roofing for detailed guides on selecting the best shingles and expert tips on professional installation.
Step 1: Choose the Right Materials
Begin by evaluating the climate in Chicopee, MA, to select shingles that will offer durability through the summer storms and winter snow. Opt for weather-resistant options that align with local building codes.
Step 2: Prepare the Roof
Ensure the roof is clear of old shingles, nails, and debris. Check the decking for any signs of damage or rot, replacing sections as necessary to ensure a solid base for your new shingles.
Step 3: Install Underlayment
Roll out and secure roofing underlayment to provide an extra layer of protection from water. Overlap each row according to manufacturer’s instructions, considering Chicopee’s typical weather patterns.
Step 4: Apply the Drip Edge
Fit drip edges along the eaves first, followed by the rakes of the roof, nailing them into place. This will guide water away from the deck and prevent wind-driven rain from causing damage.
Step 5: Lay Out Starter Shingles
Place the starter strip or shingles at the bottom edge of the roof, ensuring they overhang the drip edge slightly. Secure them according to manufacturer’s guidelines, which helps protect against wind uplift.
Step 6: Install Roof Shingles
Starting from the bottom corner, begin to layer shingles, working your way upwards. Use the proper nailing technique, with nails placed beneath the next overlapping shingle, and ensure each row is properly aligned.
Step 7: Flashing and Ridge Vents
Install flashing around roof features like vents and chimneys and set up a ridge vent. These components prevent water entry and promote attic ventilation, crucial for Chicopee’s seasonal temperature changes.
Step 8: Cap the Ridge
Finish by applying ridge caps to the very top of the roofline, which provides a weather-tight seal and gives your roof a polished look. Ensure the caps align neatly and are securely nailed in place.
Common DIY Roofing Mistakes to Avoid
When it comes to DIY roofing, even the most detail-oriented homeowner can slip up. Being aware of the common pitfalls can save you time, resources, and the distress of future repairs. Let’s dive into practical errors frequently made during the DIY roofing process, understanding why they occur and how to sidestep these blunders.
- Mistake 1: Inadequate Material Selection
Choosing roofing materials without considering Chicopee’s variable weather can have dire consequences. Materials ill-suited for heavy snowfall or summer thunderstorms might lead to premature wear or damage. To prevent this, select shingles rated for your specific climate and adhere to local building codes. - Mistake 2: Overlooking Roof Preparation
Skipping the thorough cleaning of the roof’s surface and ignoring minor repairs can compromise the integrity of your roof installation. Ensure that all old shingles, nails, and debris are completely removed and any damages to the decking are repaired to establish a solid foundation for your new shingles. - Mistake 3: Improper Underlayment Installation
Neglecting to properly overlap underlayment or failing to secure it can leave your roof vulnerable to water damage. Follow the manufacturer’s instructions for overlap, and secure the underlayment meticulously to create an effective secondary barrier against water infiltration. - Mistake 4: Incorrect Drip Edge Application
The drip edge is crucial in steering water away from the fascia and into the gutters. Installing it improperly can lead to water damage along the roof’s edges. Install the drip edge along the eaves first, ensuring it’s flat and nailed securely into place. - Mistake 5: Neglecting Starter Shingle Guidelines
Starter shingles must overhang the drip edge slightly—a detail sometimes missed by DIYers, which can increase the risk of water ingress. To protect against wind uplift, position and fasten these according to the guidelines, keeping the overhang consistent. - Mistake 6: Misaligning Shingles
Starting shingle installation without a proper guideline can lead to an uneven appearance and potential leaks. Use the proper nailing technique, ensure each row is straight and stagger the seams properly to safeguard against water leakage. - Mistake 7: Inappropriate Flashing and Ventilation Setup
Flashing and ridge vents are vital for preventing leaks and proper attic ventilation but are often installed incorrectly by DIY roofers. Install flashing around roof features and ridge vents correctly to avoid water penetration and ensure effective airflow. - Mistake 8: Faulty Ridge Cap Finishing
The finishing touch on any roofing project, the ridge cap must be applied accurately to ensure a weather-tight seal. Secure and align each ridge cap piece precisely to prevent wind and water from breaching the roof peak.
Ensuring Ventilation and Proper Water Flow
Proper attic ventilation is crucial to prolong the life of your roof, especially in areas with significant temperature swings like Chicopee, MA. Installing ridge vents is an effective way to create a natural air flow which helps to regulate the temperature and moisture levels in the attic. The use of flashing around chimneys, vents, and intersecting roof lines is essential to prevent water intrusion and protect the structural integrity of your roof.
Water management is a key consideration in the installation process; the ridge cap plays a vital role in this. When applying the ridge cap, ensure each piece overlaps properly to provide a watertight seal at the peak—a critical guard against potential leaks. Visit JJ Landerman Roofing’s residential services for comprehensive information on reliable roofing techniques and materials.
Post-Installation Checks and Maintenance Tips
Once installation is complete, an inspection is necessary to ensure that all components are securely in place. This examination should cover not only the shingles but also the flashing, ridge vents, and ridge cap. Regularly scheduled maintenance checks are paramount in extending the life of your roof and safeguarding your Chicopee home against the elements.
Always be vigilant for signs of wear or damage, such as lifted shingles or compromised sealing around vents, as early detection can mitigate costly repairs. Remember, a well-executed installation coupled with ongoing maintenance ensures that your roof remains a strong and protective barrier for your home. For maintenance support and other roofing services, consult with the experts at JJ Landerman Roofing.